A Southern Christmas Tree with Velvet Bows, Magnolia & Vintage Gold
Amazon
Inspirations
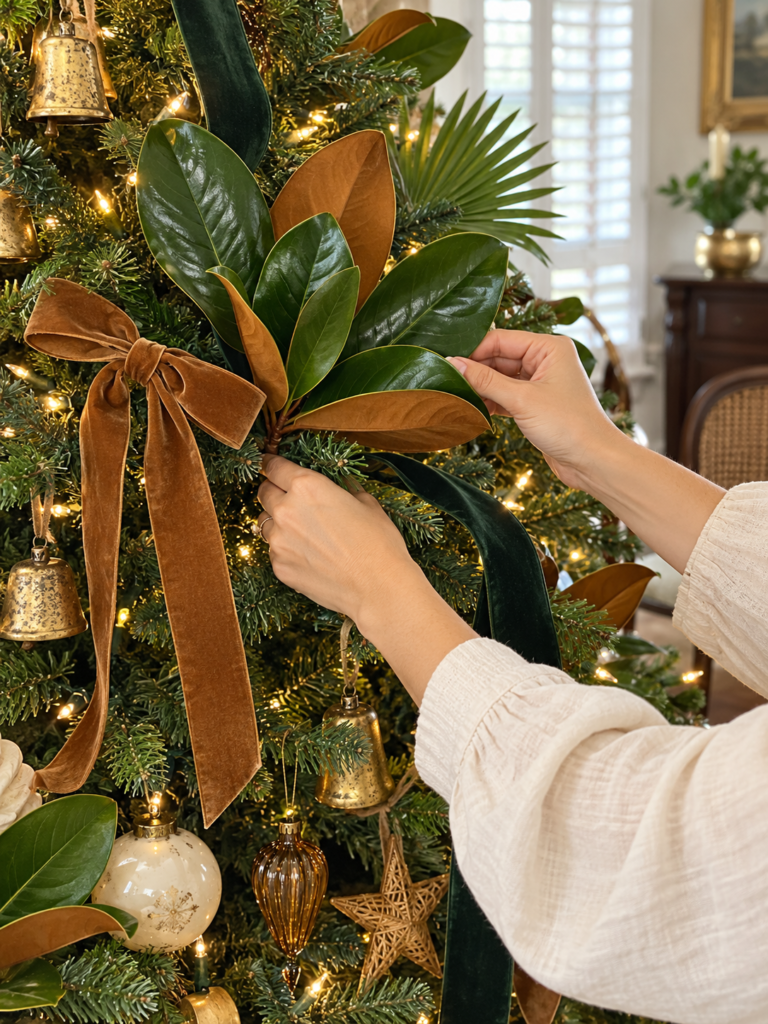
Some Christmas trees make you want to unwrap presents. This one makes you want to pull up a chair, pour something lovely, and stay awhile. Caramel velvet bows, deep green ribbon, glossy magnolia leaves, and softly aged gold ornaments give the branches a richness that feels right at home beside dark wood furniture and woven cane.
The palette is easy to carry through your room: forest green, caramel brown, warm ivory, natural wood, and antique gold. Repeat a few of those colors on wrapped gifts or a nearby console, then let the tree do the talking.
Below are the pieces to help assemble the look, followed by four “I Can Make That …” projects you can tackle one at a time. Start with your existing tree and favorite ornaments; a few thoughtful additions can bring everything together.
Shop the ribbons, greenery, and ornaments in our curated Amazon collection to recreate this warm, layered Christmas look.
This post contains affiliate links. As an Amazon Associate, Land2Shore earns from qualifying purchases.
I Can Make That ...
Styling tip: Check the tree in daylight and again after dark. Fine fairy lights add a lovely extra twinkle among larger bulbs, especially once the glass ornaments are there to catch it.
01 | A Beautifully Fluffed & Glowing Tree
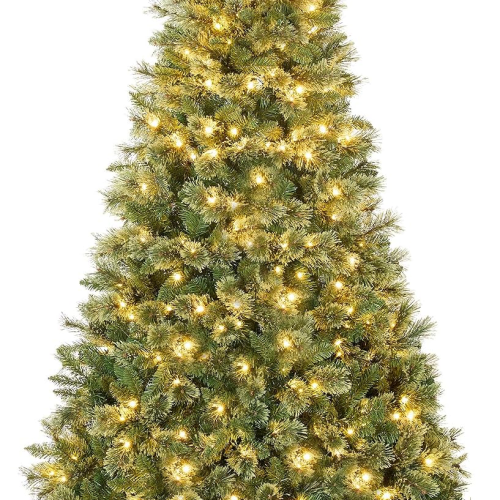
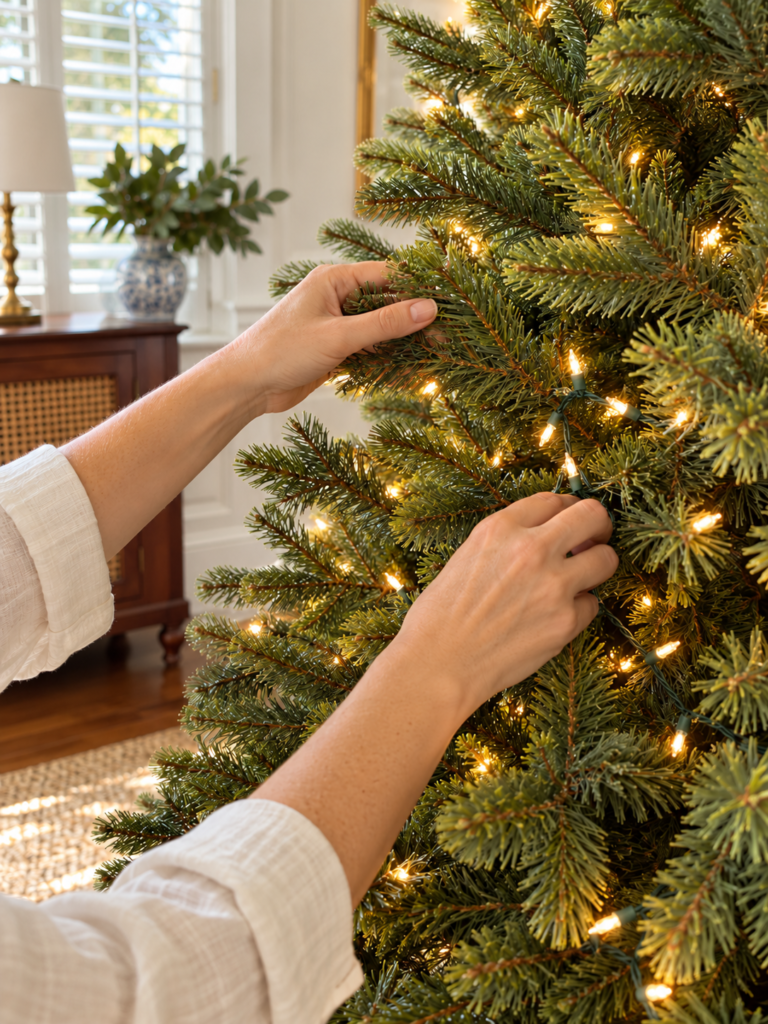
Before the velvet bows and vintage-style ornaments go on, give your tree a little attention of its own. Full branches and thoughtfully layered lights create the depth that makes everything else look beautiful.
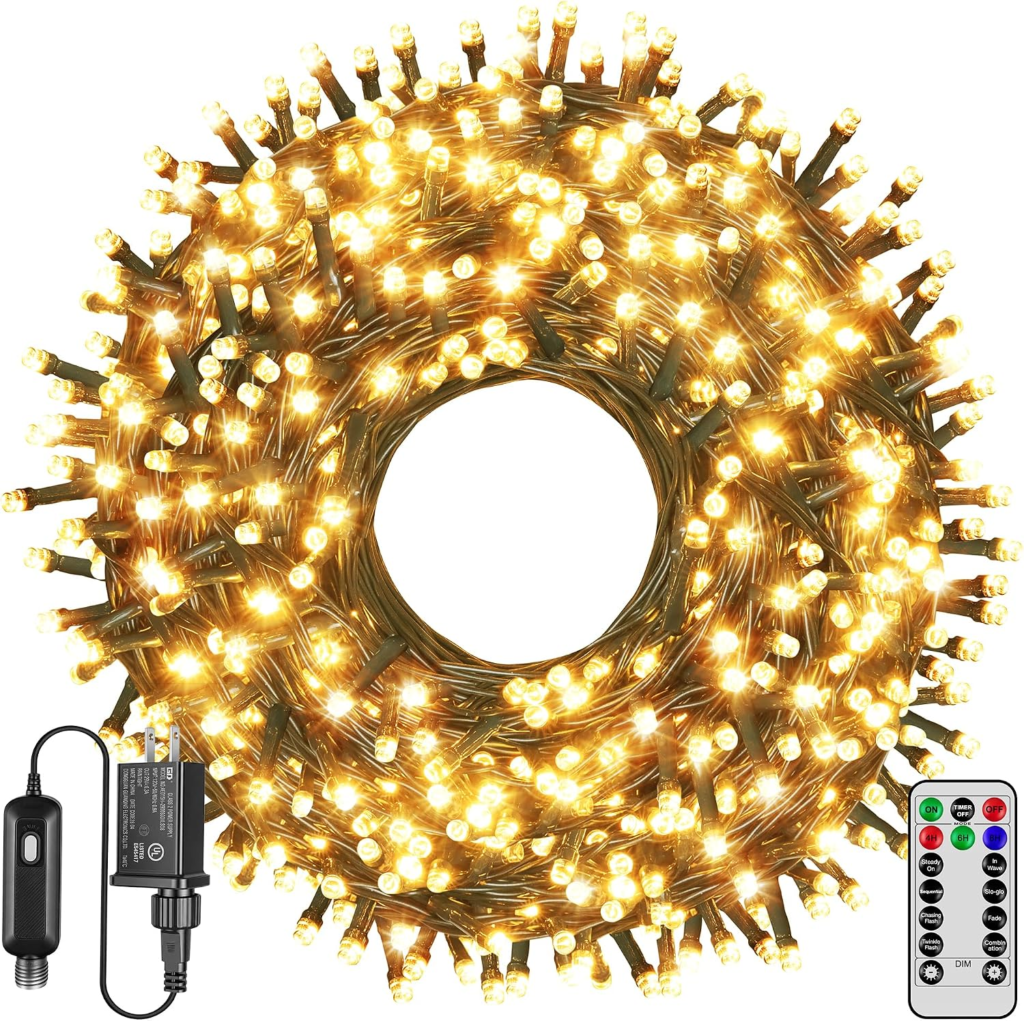
Gather: Your Christmas tree, warm white tree lights, optional warm white fairy lights, and a sturdy step stool.
Shape the branches. Assemble your tree and work from the bottom upward, spreading each branch and separating its individual tips. Angle some upward, some outward, and some slightly downward to fill empty spaces and create a natural silhouette.
Switch on the lights. Once the tree is assembled and the light connections are secure, turn them on. Check the tree from several angles so you can spot dark patches, uneven coverage, or sections that need troubleshooting before decorating.
Add more sparkle where needed. A pre-lit tree can still benefit from extra lights! Weave a compatible strand of warm white lights through sparse areas, or add delicate fairy lights for little points of shimmer. Match the warmth of your existing lights so the glow feels consistent.
Build depth through the branches. Switch off and unplug strands while positioning them. Work lights closer to the trunk, through the middle branches, and toward selected outer tips. Tuck wires into the greenery, leaving the bulbs visible. Follow the manufacturer’s connection limits; battery-powered fairy lights should have accessible battery packs.
Light it up and step back. Turn everything on again and check from your main seating area and the room’s entrance. Look high and low for dark gaps or overly bright clusters. Unplug before adjusting, then repeat until the lighting feels balanced.
02 | Long-Tailed Velvet Bows
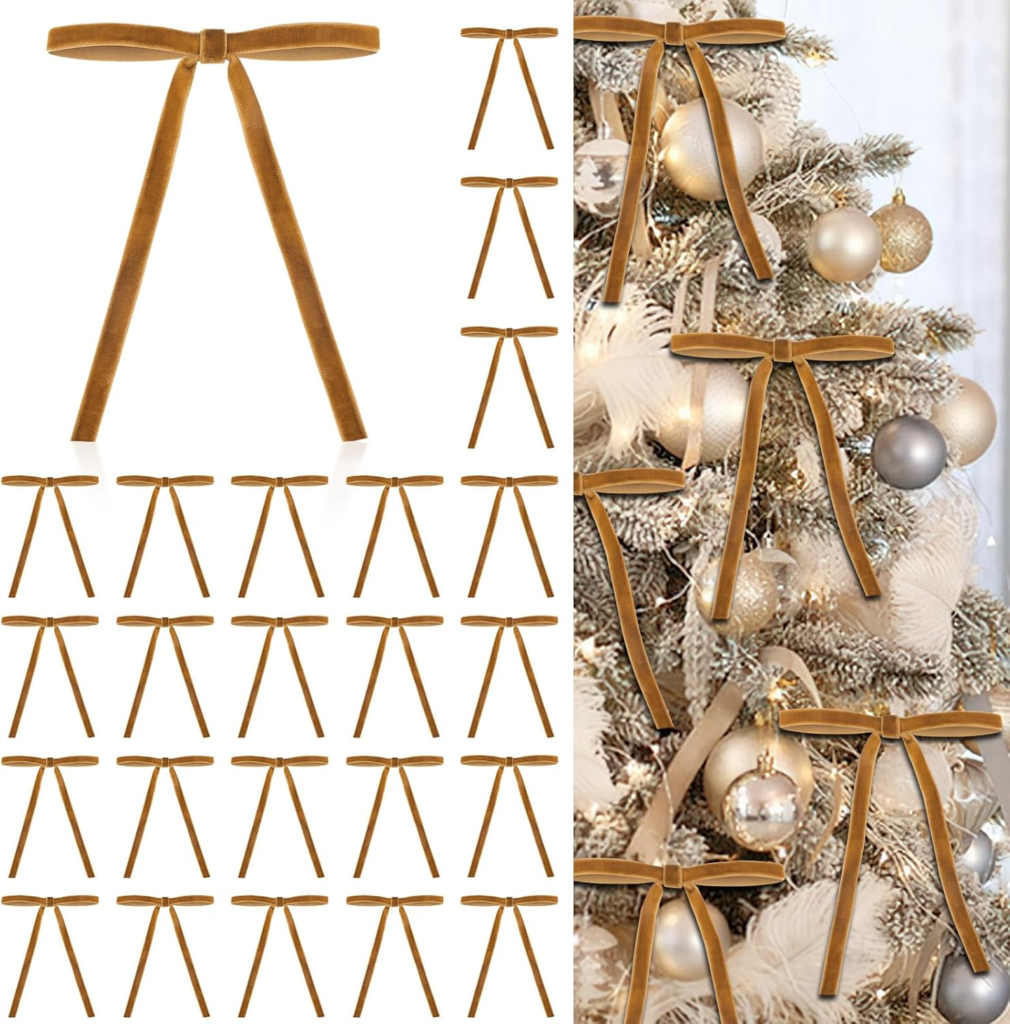
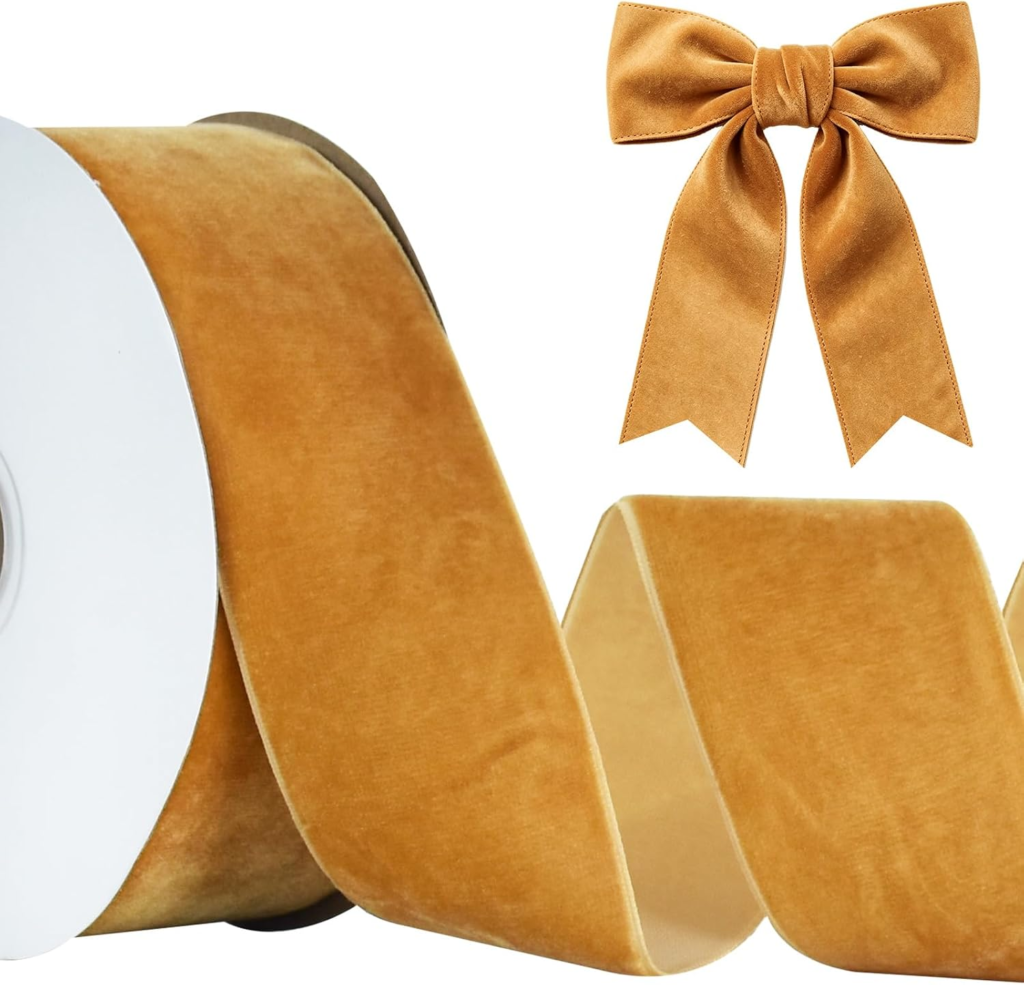
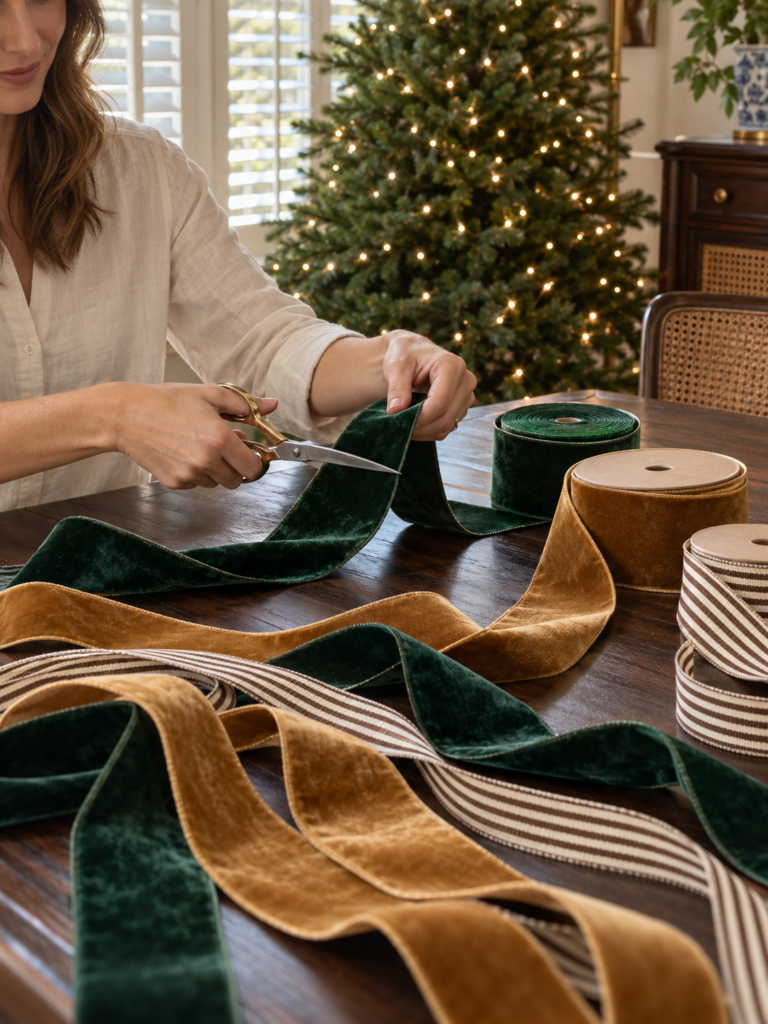
These bows are simple enough to make at the kitchen table and substantial enough to change the whole tree. The trick is keeping the loops modest and allowing the tails to hang long.
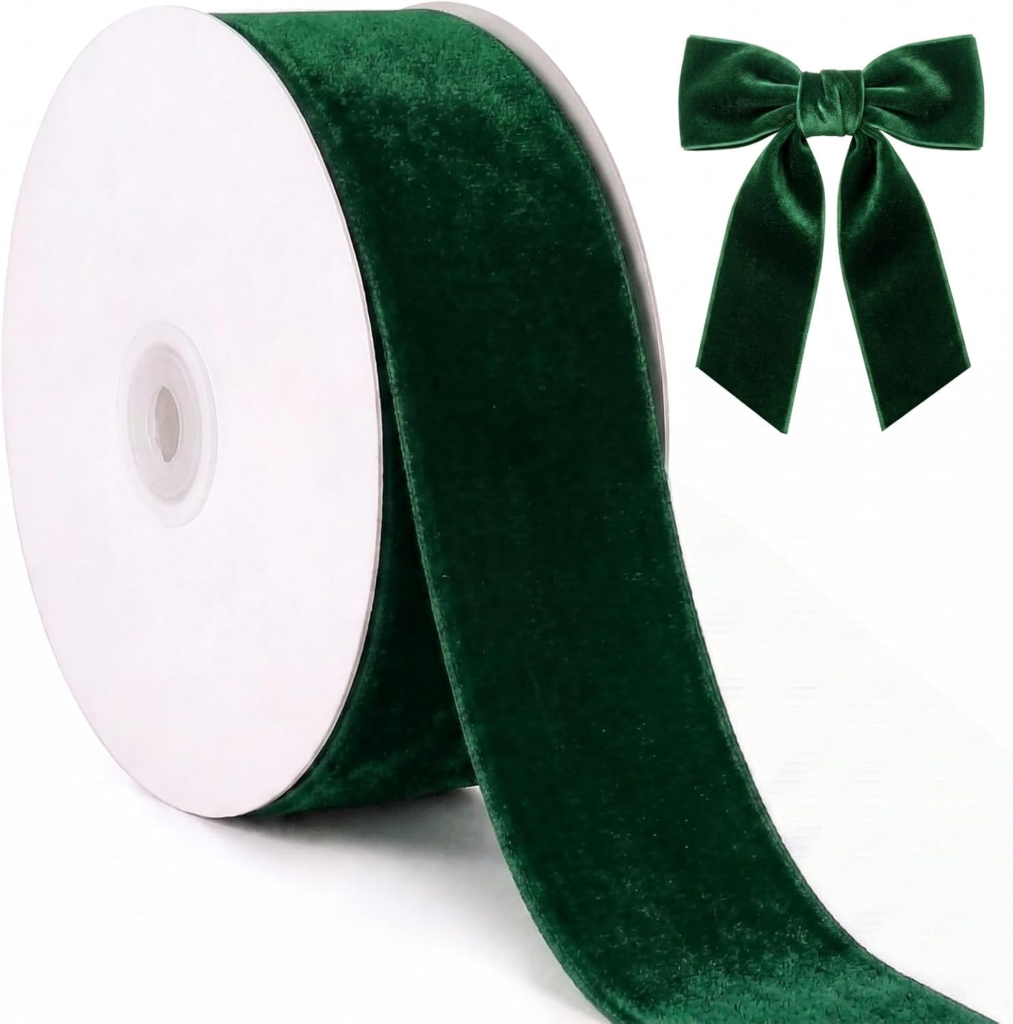
Gather: Caramel or brown velvet ribbon about 1–2 inches wide, scissors, thin floral wire, and a short extra piece of matching ribbon for each bow’s center. Ready-made velvet bows work here, too.
Form two loops. Leave the ribbon attached to the roll while you test the size. Fold it into two equal loops with two tails below, keeping the velvet side facing forward.
Pinch the middle. Aim for a finished bow roughly 6–8 inches across, adjusting to suit your branches. Pinch the center and wrap it securely with floral wire, leaving wire ends for attachment.
Cover the wire. Wrap a short piece of ribbon around the pinched center. Tie it at the back and trim the excess.
Finish the tails. Cut the main ribbon from the roll, leaving tails approximately 12–18 inches long. Trim each end on a slant with sharp scissors.
Attach and shape. Fasten the bow to a sturdy branch with the wire ends tucked away. Open the loops gently and let the tails fall between the ornaments.
Styling tip: Position a few bows near gold bells, allowing space for both to show. Repeat bows at different heights instead of lining them up across the tree.
Styling tip: Place a magnolia grouping beside a caramel bow to make the shared brown tones stand out. Faux greenery also makes the arrangement easy to dismantle and reuse next Christmas.
03 | Magnolia &
Palm Greenery Accents
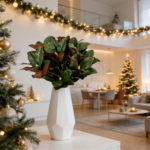
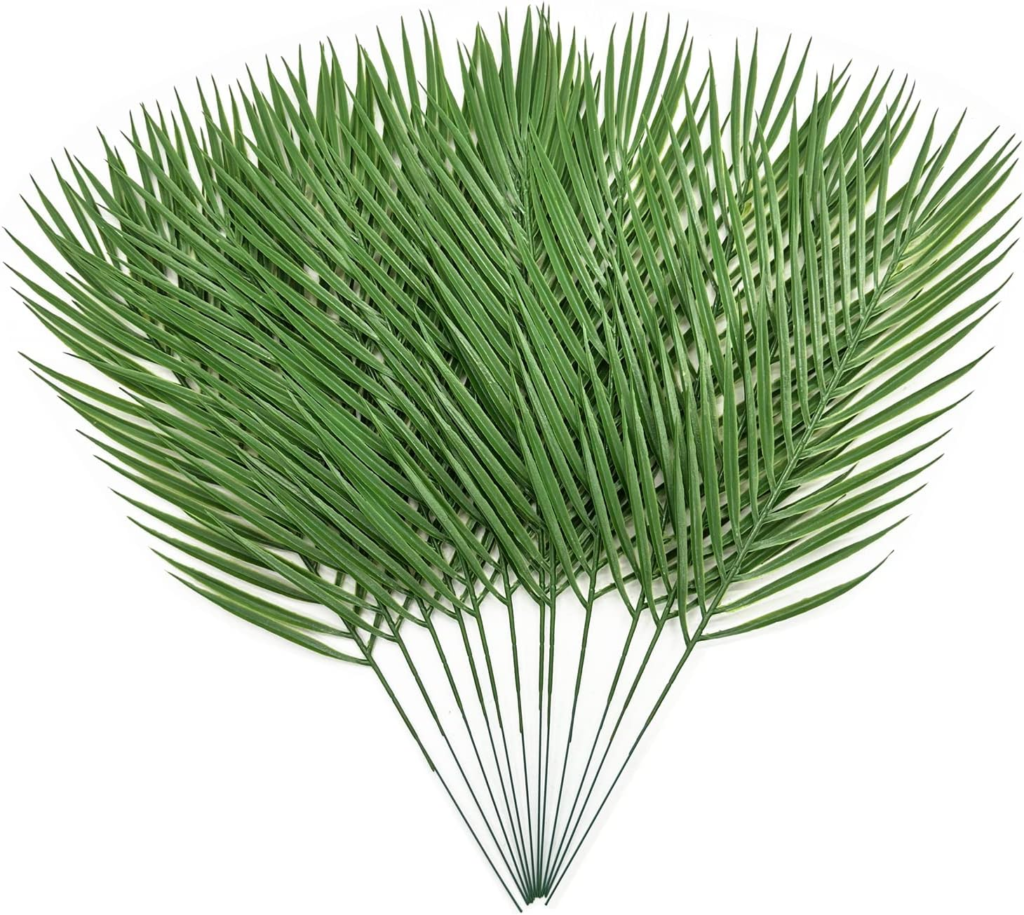
Magnolia leaves are a beautiful bridge between the tree’s forest green and caramel tones. Their glossy green faces and brown undersides echo both ribbons, while an occasional fan-shaped palm accent adds a relaxed coastal note.
Gather: Faux magnolia stems with brown undersides, optional small faux palm picks, green floral wire, and wire cutters.
Make small leaf groupings. Separate large faux sprays into smaller picks where their construction allows. Use wire cutters on wired stems, keeping enough stem length to anchor each piece.
Show both leaf colors. Bend and turn the magnolia leaves gently so each grouping reveals green faces and a few brown undersides.
Tuck stems into the branches. Insert the stems toward the trunk, leaving the leaves visible just beyond the evergreen tips. Secure them to a branch with floral wire.
Repeat around the tree. Space the groupings at different heights and angles, checking the view from the room’s main seating area.
Add a restrained palm accent. If using palm picks, tuck one or two farther into the tree so only part of the fan shape appears. Let magnolia remain the main accent foliage.
04 | Layered Vintage-Style Ornament Groupings
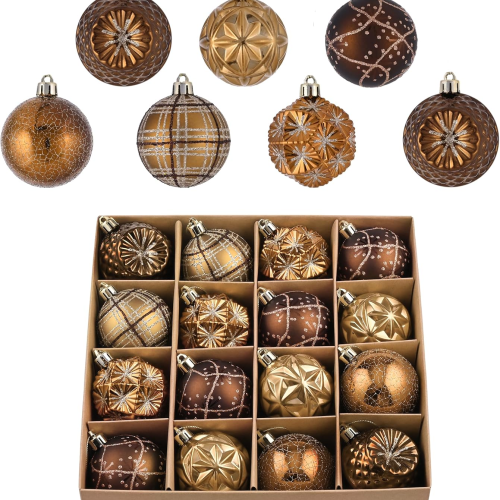
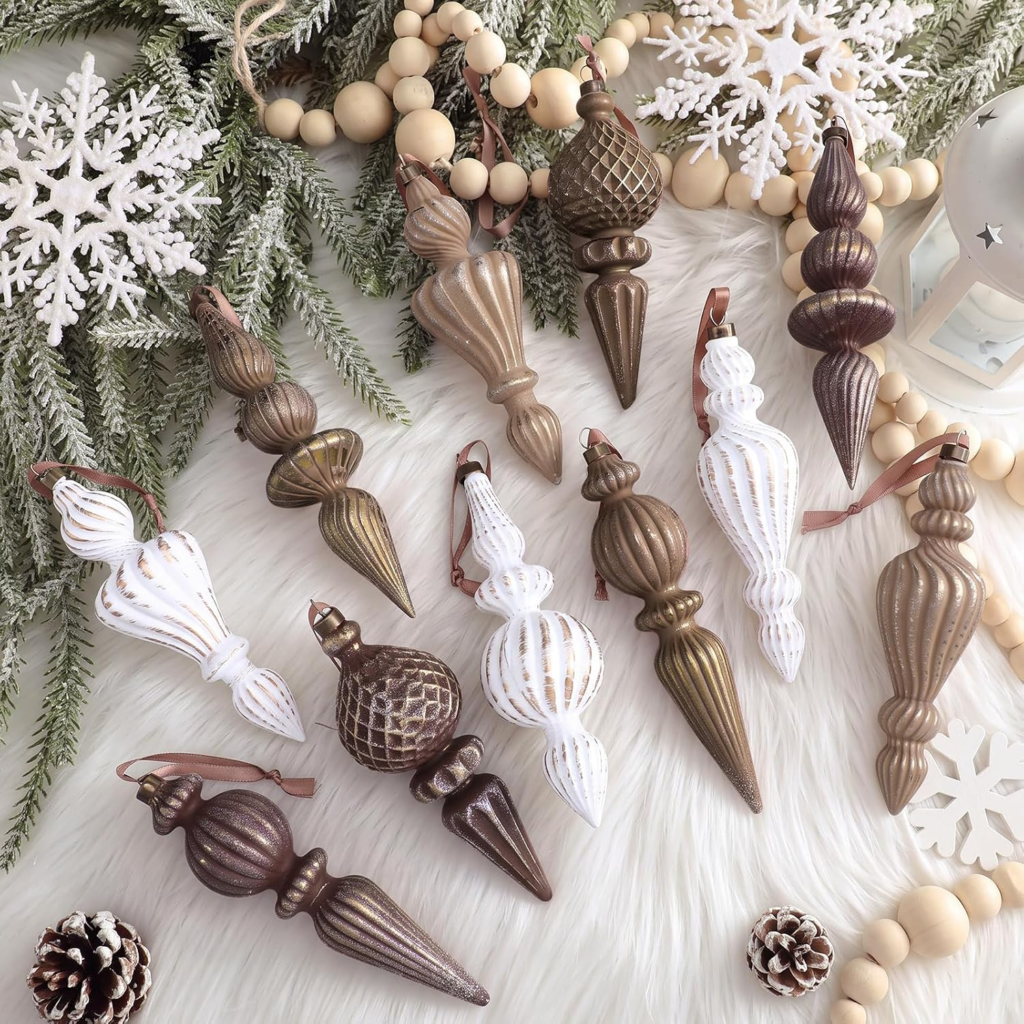
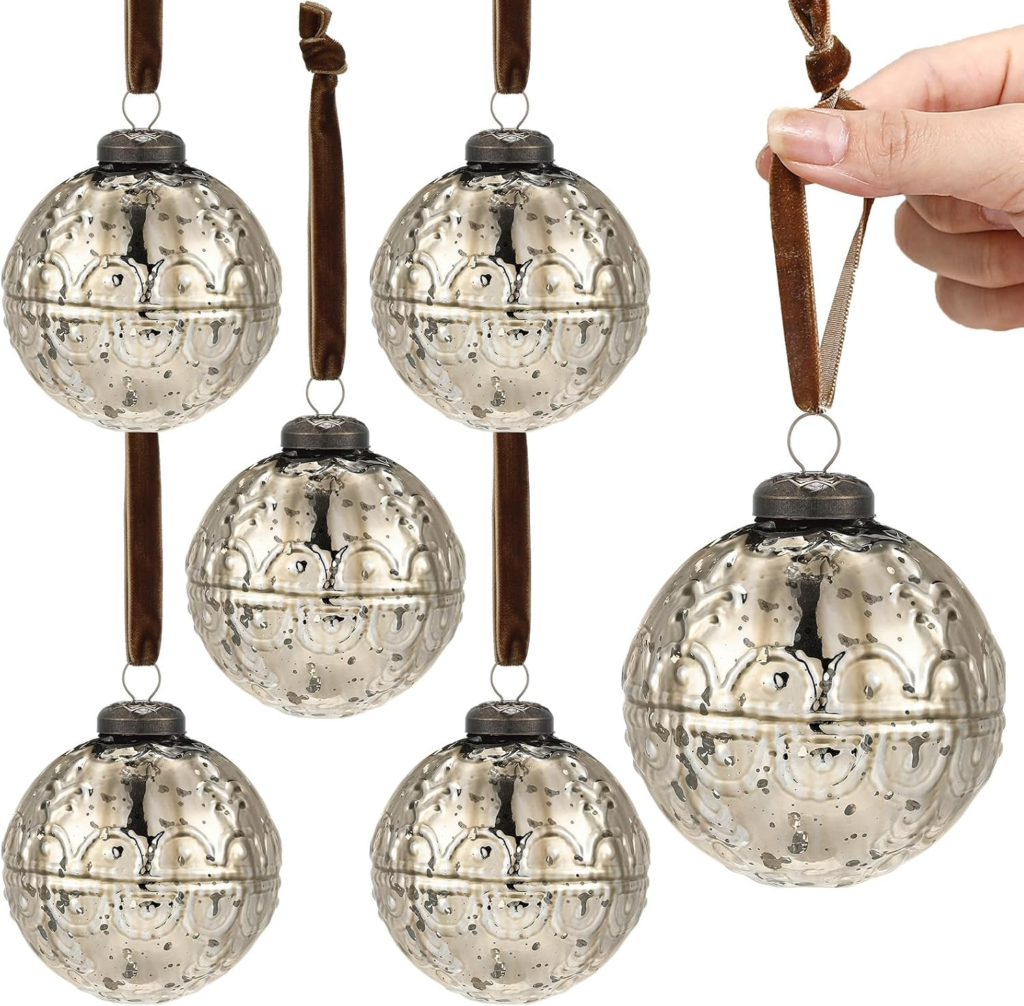
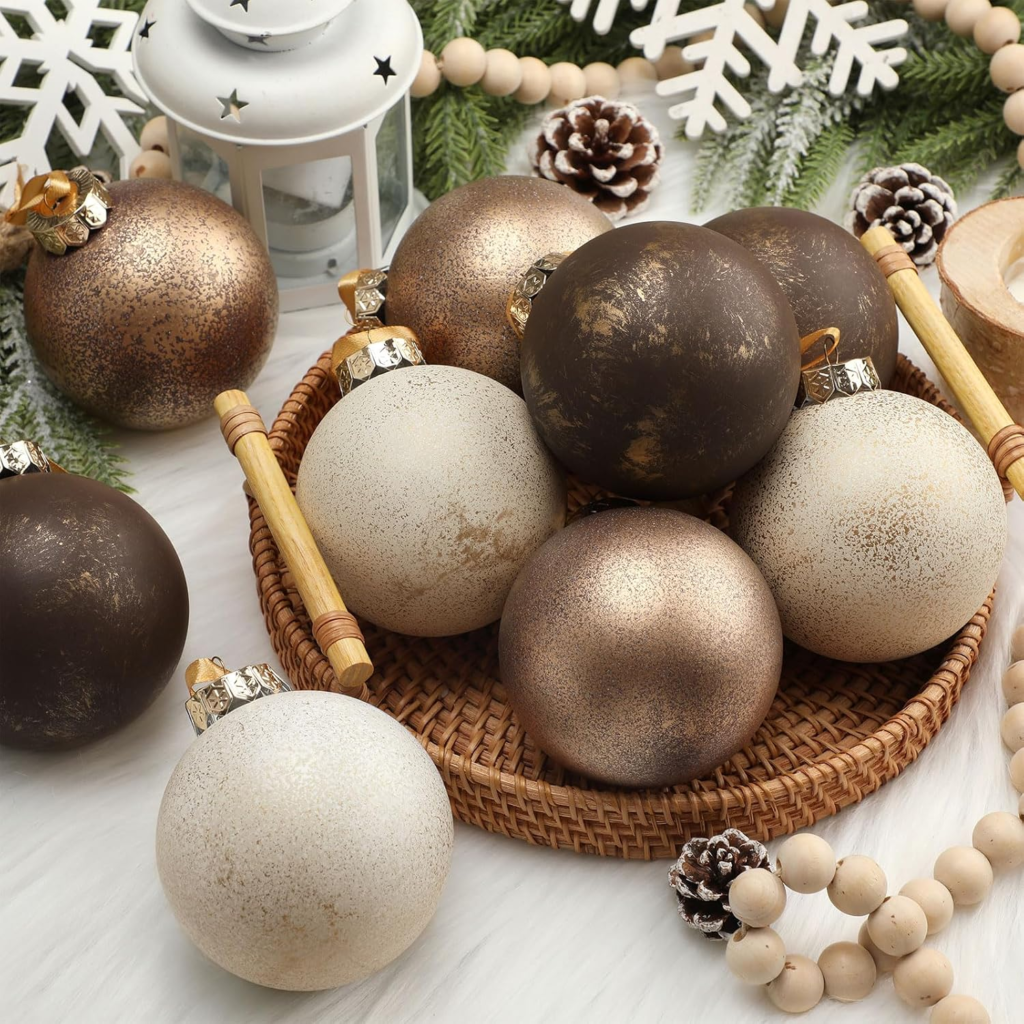
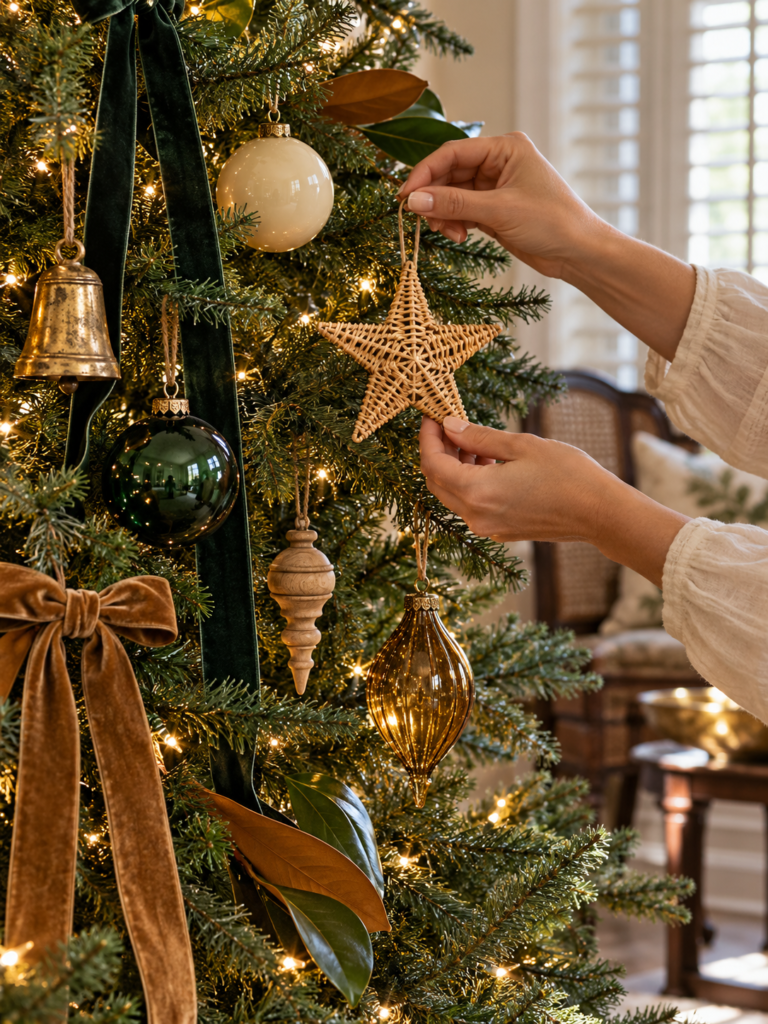
The ornaments work because their finishes are varied but their colors belong together. Cream and deep green baubles anchor the palette; amber drops, aged gold bells, turned wood shapes, and woven stars provide the detail.
Gather: Cream and dark green ball ornaments, amber drop ornaments, antique-gold-style bells or finials, wooden ornaments, woven stars, and secure ornament hooks or ribbon ties.
Begin with the larger baubles. Hang cream and dark green ornaments slightly inside the branches. Spread the cream pieces around the tree to bring light into the darker foliage.
Add the gold accents. Place bells and gold ornaments near the outer branches, choosing branches strong enough to support them. Heavier pieces belong closer to sturdy branch joints.
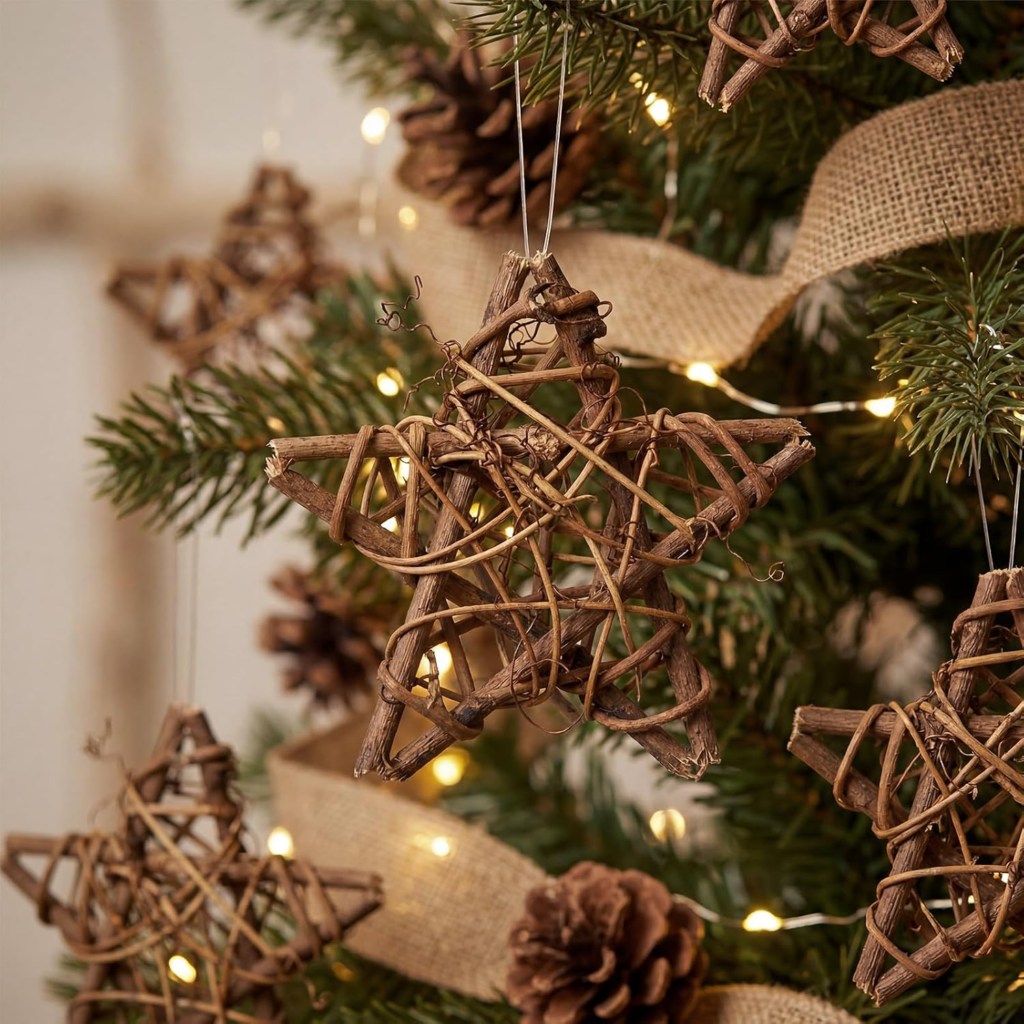
Introduce the natural textures. Hang woven stars and wooden ornaments between the shinier pieces. Turn flat stars toward the room so their shape is visible.
Give drops room to hang. Position amber drops and long finials above open spaces so they hang freely without resting on the branch below.
Check small groupings. Look for loose arrangements of three contrasting details—for example, a cream ball, a gold bell, and a woven star. Hang each separately at a different height, with a little greenery visible between them.
Styling tip: Step back before adding more. If a bow, bell, and leaf grouping are competing for the same space, move one a few branches away. Each texture should be easy to appreciate.
Carry the Look Beyond the Tree
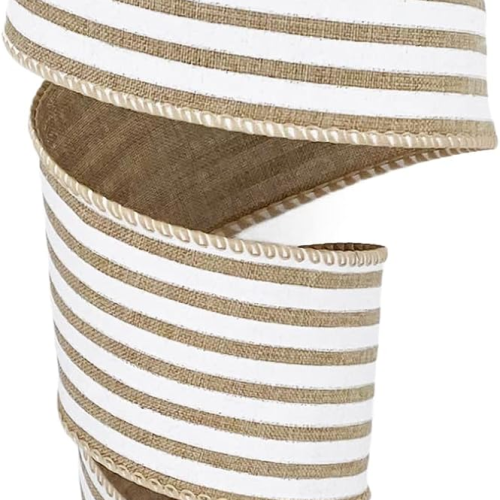
Wrap gifts in warm ivory, kraft brown, or a simple brown-and-cream stripe, then finish them with leftover velvet ribbon. On a nearby console, a small bowl of matching ornaments and a magnolia sprig will connect the room without requiring another full decorating project.
For the dining table, repeat the same materials with cream dinnerware, woven chargers, green napkins, and a small velvet bow around each napkin. A few gold bells nestled into a low greenery arrangement will make the table feel connected to the tree.
There is something especially inviting about a Christmas tree that feels at home with the furniture, textures, and colors you already love. Gather your velvet, tuck in a little magnolia, and give those favorite ornaments a fresh setting. This is a look you can build slowly—and enjoy long after the last bow is tied.
Join the Land2Shore List
Recipes, hosting ideas, and resort-inspired living—delivered once a month.